Flat and low-slope roofs age differently than shingled ones. Over time, UV exposure, ponding water, and temperature swings break down the surface of a TPO, EPDM, or PVC membrane, even when the underlying structure remains sound.
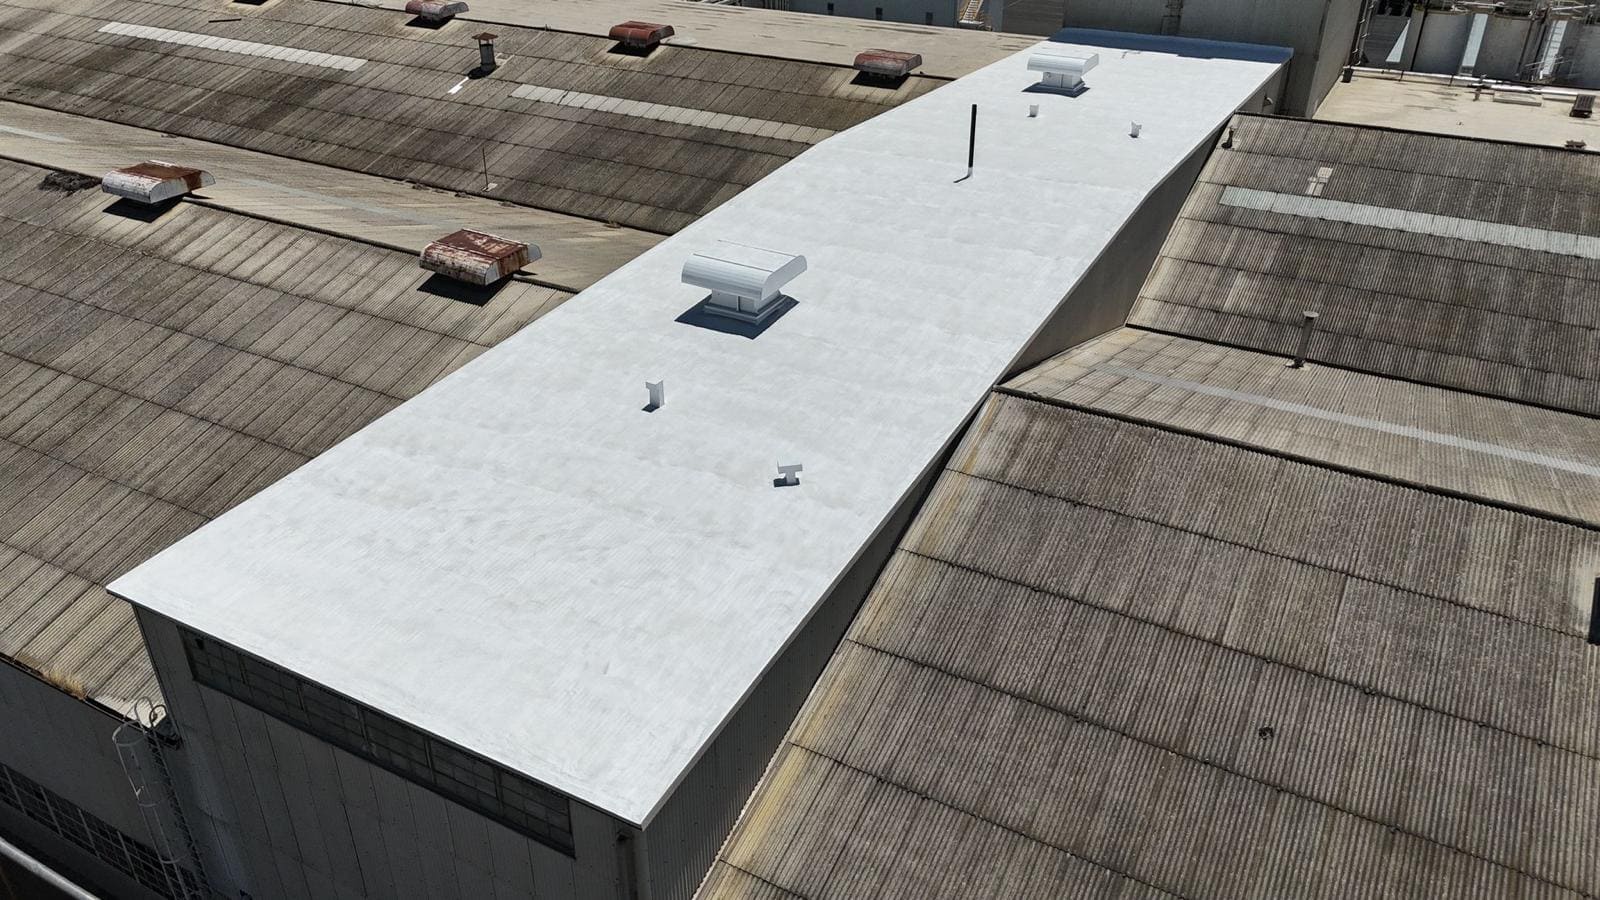
Single-ply roof recoating involves applying a liquid coating over an existing single-ply membrane to seal minor imperfections, restore weather resistance, and extend the roof’s service life without the cost of a full tear-off. For many commercial buildings, it is a practical middle ground between ongoing repairs and complete replacement.
That said, recoating is not the right answer for every roof. Membrane condition, moisture in the insulation, and proper preparation all determine whether a coating performs as intended, and the sections that follow explain what to evaluate before moving forward.
Key Takeaways
- Recoating adds a protective liquid layer over an aging single-ply membrane rather than replacing it.
- The process works best on roofs that are structurally sound and free of trapped moisture.
- Careful inspection, cleaning, and product selection determine how long the new coating lasts.
Understanding Single-Ply Roof Recoating
Recoating applies a liquid membrane over an existing single-ply roof, restoring waterproofing and reflectivity without tearing off the original system. The material chemistry, the membrane underneath, and the roof’s current condition all determine whether the process will hold up.
How Roof Coatings Work
A roof coating is a liquid-applied product that cures into a seamless, elastic membrane across the entire roof surface, including seams, flashings, and penetrations.
Most systems are built in layers: a cleaning and priming step, seam reinforcement with fabric or mesh, a base coat, and a top coat. Total dry film thickness typically runs between 20 and 40 mils depending on the manufacturer’s warranty requirements.
The coating handles two jobs at once. It blocks water intrusion at the points where single-ply membranes usually fail, and it reflects solar radiation, which lowers surface temperatures and slows UV degradation of the sheet below.
Common chemistries include:
- Acrylic — water-based, highly reflective, cost-effective, but not suited to standing water
- Silicone — excellent ponding water resistance and UV stability; holds dirt over time
- Polyurethane — strong impact and foot-traffic resistance, often used as a top coat
Common Single-Ply Membrane Types
| Membrane | Composition | Typical Service Life | Recoating Notes |
|---|---|---|---|
| TPO | Thermoplastic polyolefin | 15–25 years | Requires thorough cleaning; some sheets need a bonding primer |
| EPDM | Synthetic rubber | 20–30 years | Black membranes benefit most from reflective coatings |
| PVC | Polyvinyl chloride | 20–30 years | Plasticizer migration can affect adhesion; primer usually required |
| CSPE (Hypalon) | Chlorosulfonated polyethylene | 15–25 years | Often chalked and brittle; adhesion testing is important |
| Modified Bitumen | Asphalt-based sheet | 15–20 years | Accepts most coating systems after granule surfaces are prepared |
Each membrane reacts differently to primers and coatings, which is why an adhesion test patch is standard practice before full application.
When Recoating Is Appropriate
Recoating makes sense when the membrane is aging but still structurally sound. Good candidates show surface chalking, minor seam separation, faded reflectivity, or isolated punctures that have already been repaired.
The insulation and deck must be dry. Moisture trapped under the membrane will not evaporate through a coating, and sealing it in accelerates deck deterioration — an infrared or core sample survey confirms this before work begins.
Recoating is not the right choice when:
- More than roughly 25% of the membrane is saturated or delaminated
- The deck shows structural damage or significant deflection
- The roof has already been coated multiple times and exceeds allowable weight limits
- Widespread shrinkage has pulled the membrane away from curbs and walls
In those cases, replacement generally delivers better long-term value than another coating cycle.
Planning A Successful Recoating Project
A recoating project succeeds or fails based on decisions made before the first gallon is applied: an honest assessment of the membrane’s condition, a coating chemistry that bonds to the existing substrate, thorough cleaning and repair work, and a maintenance plan that protects the investment afterward.
Assessing Roof Condition
Recoating works on a membrane that is still structurally sound. It does not fix wet insulation, deteriorated decking, or seams that have failed across large areas.
A proper evaluation should include:
- Core cuts to check for moisture in the insulation and confirm the number of existing layers
- Infrared or capacitance moisture scanning on larger roofs to map saturated areas
- Seam and flashing inspection at curbs, drains, penetrations, and parapet terminations
- Membrane thickness testing, since heavily weathered TPO or PVC may have lost too much of its top ply to hold a coating
If more than roughly 25% of the field is wet or the membrane has lost significant thickness, replacement is usually the better financial decision. Coatings extend the life of a functioning roof; they are not a substitute for a new system.
Selecting Compatible Coating Materials
Coating chemistry has to match the membrane underneath it. EPDM, TPO, PVC, CSPE, and modified bitumen each behave differently, and using the wrong product leads to poor adhesion or premature peeling.
| Membrane | Typical Coating Options | Notes |
|---|---|---|
| EPDM | Acrylic, silicone | Primer almost always required; check for residual talc |
| TPO / PVC | Acrylic, silicone | Surface oxidation must be removed for bonding |
| CSPE (Hypalon) | Acrylic | Often responds well to elastomeric acrylics |
| Modified bitumen | Acrylic, silicone, urethane | Bleed-through blocking primer may be needed |
Silicone handles ponding water and holds up under prolonged UV exposure. Acrylic systems cost less, come in reinforced configurations, and are easier to recoat later, but they need adequate drying time and drainage.
Ask for adhesion test results on your specific roof rather than relying on a general product datasheet.
Preparing The Roof Surface
Preparation accounts for most of the labor on a recoating job, and it determines whether the coating stays attached.
The standard sequence:
- Repair first — replace failed seams, reset loose fasteners, address blisters and punctures.
- Clean thoroughly — pressure wash with a manufacturer-approved cleaner to remove dirt, chalk, biological growth, and oxidation.
- Rinse and dry completely — trapped moisture under a coating causes blistering.
- Reinforce details — embed polyester fabric or seam tape at penetrations, drains, curbs, and field seams.
- Prime as specified — most single-ply substrates require a bonding primer before the base coat.
Skipping the cleaning step or coating over a damp deck is the most common reason a recoating project fails within the first two years.
Professional Application And Maintenance
Coatings are applied to a specified thickness, measured in dry mils, and manufacturer warranties depend on hitting that number. Applicators track wet film thickness during spraying or rolling and verify coverage rates by the gallon.
Weather matters. Most systems require surface temperatures above 50°F, no rain in the forecast for 24 to 48 hours, and enough daylight for the base coat to cure before the topcoat goes on.
After application, plan on:
- Semiannual inspections, plus checks after significant storms
- Debris and drain clearing to prevent standing water
- Spot repairs at mechanical equipment and foot traffic areas
- A full recoat roughly every 10 to 15 years, depending on the system and thickness applied
Working With Specialty Roofing of CA
Specialty Roofing of CA performs single-ply recoating for commercial and industrial properties throughout Stockton and the San Joaquin Valley.
The process starts with a roof survey that documents membrane type, moisture content, and detail conditions, followed by a written scope that identifies which repairs are needed before coating begins.
Property owners receive a clear breakdown of coating options, expected service life, warranty terms, and cost — so the choice between recoating and full replacement is based on the actual condition of the roof rather than a default recommendation.